LED display software made easy for first-timers
You want to make your message shine, but you feel unsure about where to start. Don’t worry! With led display software, you can show your first message in just a few steps. You don’t need special skills or experience. Let’s make your screen come alive together!
Key Takeaways
To set up an LED display, you need the right screen, software, and cables. Always make sure everything works together before you begin.
Use a step-by-step guide to connect your hardware and put in the software. This helps the setup go smoothly.
Take care of your display often. Clean it every week. Check the cables every month to make sure it works well.
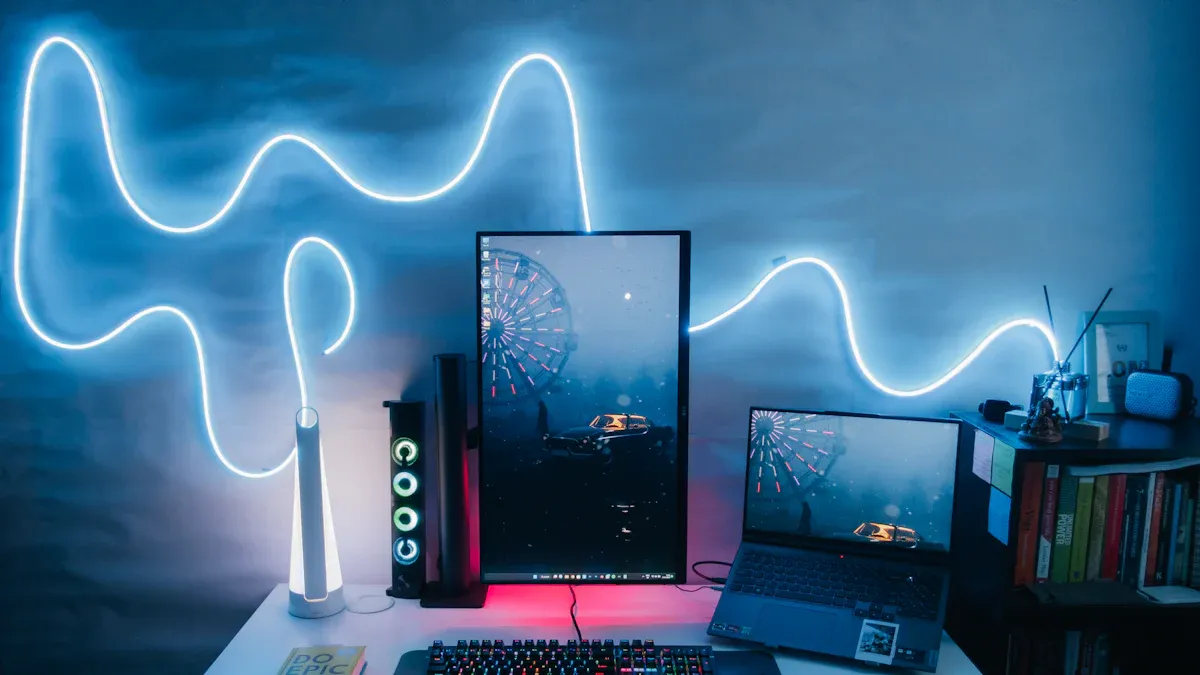
led display software setup

What you need
Before you start, you need a few things to make your LED display shine. Here’s a simple checklist:
An LED display screen that fits your space and needs.
A computer or device to run the led display software.
The right cables or a wireless connection to link your computer and the display.
Power supply that matches your display’s voltage.
The led display software itself. Some popular software for led display programming includes Xibo Signage and Samsung VXT.
You also want to make sure your computer’s operating system works with the software. Here’s a quick look at what’s compatible:
Software | Supported Operating Systems |
|---|---|
Xibo Signage | Windows, Android, webOS, Linux |
Samsung VXT | macOS, Android, Windows, Linux |
Tip: Always check the software’s website for the latest compatibility updates.
Safety matters, too! Take a look at these important points:
Safety Consideration | Description |
|---|---|
Waterproofing | Make sure your display and connections are waterproof to avoid short circuits. |
Temperature Management | Use parts that can handle hot or cold weather, and add cooling if needed. |
Proper Grounding | Ground your display to protect against electrical surges. |
Installation steps
You’re ready to get started! Follow these steps for installing and setting up your software and hardware:
Pick your display type. Choose a screen size and type that fits your message and space.
Find the right spot. Place your display where people can see it easily and where lighting works well.
Connect your hardware. Plug your display into a control system. Make sure it matches your led display software.
Install the software. Download and install nova lct software or another program that fits your needs. If you want to install nova lct, follow the instructions on the official site.
Set up management. Create an admin account so you can update your led display program and monitor your led display systems.
Note: Don’t forget to check the voltage and power supply. Use a power supply that’s at least 20% stronger than your display needs. This helps prevent overheating.
Here are some common mistakes beginners make and how you can avoid them:
Use the right voltage for your display and power supply.
Don’t overload the power supply—pick one with extra capacity.
Connect positive and negative wires correctly.
For long displays, use center power feeds to keep brightness even.
Use good connectors and make sure all connections are tight.
Connecting the display
Now it’s time to connect your computer to the LED display. You have a few options for cables:
Cable Type | Description |
|---|---|
HDMI | Sends both audio and video in high quality. Most modern displays use this. |
VGA | Older style, only for video. Good for older screens. |
DVI | Digital video, better than VGA, but not as common as HDMI now. |
Some displays also support wireless connections, but cables are usually more reliable for beginners.
Once you connect everything, you might need to do some calibration to make sure your colors and brightness look right. Here’s how you can do it:
Calibration Procedure | Description |
|---|---|
Use of Cameras | Cameras check each LED’s brightness to keep things even. |
Calibration Maps | The software adjusts each LED for a smooth look. |
Installation Order | Build your display in the same order as it was calibrated. |
If your display doesn’t show up in the software, try these troubleshooting steps:
Restart your computer.
Restart the LED sign.
Check all cables and make sure your device is on the same network as the display.
Look for any error messages.
If it still doesn’t work, check the software’s help section or ask for support.
Tip: Good screen configuration makes your led display program look its best. Take your time to set up the display area, brightness, and color settings.
With these steps, you’re well on your way to mastering led display programming. You’ll soon see your first message light up!
step-by-step guide to programming an led display
Navigating the interface
When you open your led display software, you see a dashboard. There are many buttons and choices. Don’t worry if it looks confusing at first. Most led display software, like Screenly OSE or ScreenCloud, is made for beginners. You will find menus for uploading pictures and words. You can also set when messages show and change settings. Here is what some software can do:
Software | Key Features |
|---|---|
Screenly OSE | Simple dashboard, playlists for timing, full HD support |
ScreenCloud | Over 60 add-ons, design tools, easy content management |
NoviSign | Drag-and-drop, ready-made widgets, sync devices |
TelemetryTV | Live updates, automatic tasks, more than 70 built-in apps |
You can move files by dragging them. You can pick colors and see a preview before sending your led display program. Nova lct software has similar tools, but each program looks a little different. Try clicking on different buttons to see what happens. You won’t break anything by looking around.
Tip: If you get stuck, look for a help button or a question mark. Most led display software has guides or tutorials for new users.
Creating a led display program
Are you ready to make your first message? Here are the steps to help you go from an idea to glowing words.
Get your computer, led display systems, and cables.
Set up your display. Plug everything in and turn it on.
Open your led display software. Click “New Program” or “Create Message.”
Type your message. Most people start with simple text like “Welcome!” or “Sale Today!” You can add easy animations too.
Use design tools to change font size, color, and effects. Some programs let you add moving text or flashing colors.
Preview your led display program. See how it looks in the simulator.
Save your work. Give your program a name so you can find it later.
Note: If you want to learn how to program led displays, start with text and easy effects. You can try harder features when you feel ready.
Most beginners use these types of content:
Scrolling text messages
Simple animations
Basic color changes
You don’t need fancy pictures to begin. Just make sure your message is easy to read.
Sending your message
Now you can send your led display program and show your message. Follow these steps:
Preview your message in the simulator.
Change timing, transitions, or effects if you want.
Click “Send” or “Download” to move your program to the controller.
Look at your display. Make sure your message shows up right.
If something goes wrong, don’t worry. Fixing problems is part of programming. Here is a table with common problems and how to solve them:
Issue | Description | Resolution Steps |
|---|---|---|
Dead/Stuck Pixels | Black spots or stuck colors | Check for damage, replace broken modules |
Flickering Screens | Power or signal is not steady | Tighten power cables, check signal, update firmware |
Color Inaccuracies | Colors look wrong or faded | Change calibration settings in your led display software |
Power Supply Failures | Display goes dark or shows only part of image | Check voltages, test fuses, replace broken parts |
Tip: Always check your screen setup and connections before sending a new program. A loose cable can cause strange colors or missing rows.
led display programming tips
You want your display to look bright and colorful. Here are some tips to help with brightness and color:
Use the right spectral correction for good colors.
Keep extra light away when you calibrate.
Change RGB gain and brightness by hand in your led display software.
Taking care of your led display program helps it work well. Here is a checklist:
Clean your screen every week with a soft cloth.
Look for damage every month.
Test and calibrate your display once a month.
Check cables and power supply to make sure they are stable.
Take care of cooling systems every few months.
Update your software and firmware every three months.
Have a professional check your display once a year.
Note: Updating your software often keeps your led display systems safe and working with new features.
It is easier to fix led display program problems when you know what to check. Here is a table to help:
Problem Description | Possible Causes | Troubleshooting Methods |
|---|---|---|
Display not working, green light flashes | No power, bad cable, low voltage | Check power, cables, voltage, replace sending card |
Display not working, green light off | Bad HDMI/DVI, graphics settings | Check connections, adjust settings, reinsert card |
System not found error | Bad USB/serial, damaged card | Try new cable, different computer, install driver |
Missing rows or weird colors | Loose cable, bad module | Check cables, test modules |
Some modules not displaying | Bad power supply, poor AC | Confirm power, reconnect cord |
Entire box not displaying | Disconnected power, bad network | Check power, replace network cable |
Dots, noise, shadows | Driver not loaded, bad cable | Reload software, check cable, replace card |
Communication problems | No power, bad connection | Confirm power, check network |
Screen is dim or blurred | Wrong program settings | Restore defaults, adjust brightness |
Screen shakes or ghosting | Loose lines | Replug cables, replace card |
Keep learning and stay curious. Led display software gets updates often. Updates fix bugs, add new tools, and keep your system safe. Check for updates every few months. This helps you avoid problems and keeps your skills sharp.
If you want to get really good at led display programming, keep trying new effects and layouts. Try connecting controllers and making content that stands out. The more you practice, the better your displays will look.
You finished setting up led display systems. You checked all the screen connections. You learned how led display programming works. Try out new effects and change your screen setup. If you have problems, use steps to fix screen connections. You can also fix common led display program problems. For extra help, join online groups or watch videos about screen connections.
Keep learning and have fun with your bright display!
FAQ
How do you update your LED display software?
You open the software, check for updates in the settings, and follow the prompts. Updates help your display work better and add new features.
What should you do if your display does not turn on?
First, check the power cable and connections. Make sure the power supply works. If the screen stays off, try basic troubleshooting or contact support.
Can you use images and videos on your LED display?
Yes! Most LED display software lets you upload images and short videos. Just drag and drop your files into the program and preview before sending.
See Also
Understanding Display Technology: A Simple Guide for Beginners
All You Need to Know About Transparent OLED Displays
Choosing Between LED and LCD Monitors: A Simple Guide
Exploring Flexible Display Technologies: OLED Versus LED Explained