Pulse Width Modulation Explained in Simple Words
You might wonder how electronic devices control things like brightness or speed so smoothly. Pulse width modulation gives you a simple way to do this. PWM turns a digital signal on and off very quickly, letting you control the average power sent to a device. Over the past decade, consumer electronics have adopted this technology at a rapid pace, driven by the need for energy-efficient solutions and smarter devices.
Demand for energy-efficient power management keeps rising.
Modern advancements make power delivery more precise and efficient.
As a result, you see pulse width modulation everywhere, from smart gadgets to electric vehicles.
Key Takeaways
Pulse Width Modulation (PWM) controls power delivery by rapidly switching a signal on and off, allowing for efficient control of devices like motors and LEDs.
The duty cycle is crucial in PWM; it determines how long the signal stays on, affecting the average power and brightness of devices.
Using PWM is energy-efficient because it minimizes wasted energy as heat, helping devices last longer and reducing energy costs.
PWM is versatile and can be applied in various devices, from home appliances to electric vehicles, making it a popular choice in modern electronics.
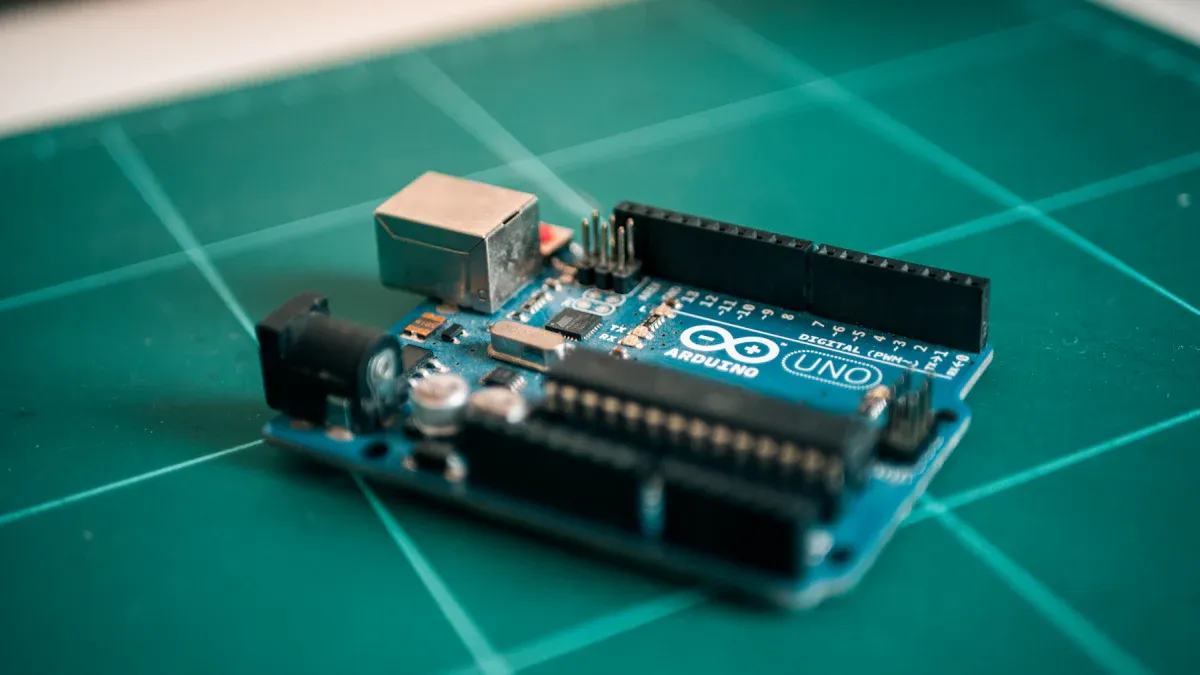
You can easily implement PWM in your projects using microcontrollers like Arduino, enabling smooth control over brightness and speed.
What Is Pulse Width Modulation
Basic PWM Concept
You can think of pulse width modulation as a way to control how much power reaches an electronic device. Instead of sending a steady flow of electricity, you turn the power on and off very quickly. This rapid switching creates a pattern called a pwm signal. The main idea is simple: by changing how long the signal stays on versus off, you control the average power delivered.
In electrical engineering, pulse width modulation works based on a few key principles:
You control power delivery by adjusting the width of each pulse while keeping the frequency and amplitude the same.
The average output voltage depends on the duty cycle. For example, if the duty cycle is 50%, the device receives half the input voltage.
The main parts of a pwm system include a pwm generator, high-speed switches, gate drivers, and sometimes low-pass filters.
This method lets you manage power with great precision. You see it used in many devices because it is both simple and effective.
Duty Cycle Explained
The duty cycle is a core part of how pwm works. It tells you how much of each cycle the signal stays on. You measure the duty cycle as a percentage. For example, a 25% duty cycle means the signal is on for one-quarter of the time and off for the rest. A 75% duty cycle means the signal is on most of the time.
You can use the duty cycle to control things like brightness or speed. If you want a light to shine dimly, you set a low duty cycle. If you want it to shine brightly, you set a high duty cycle. The average voltage sent to the device equals the duty cycle times the input voltage. This simple rule helps you predict how the device will behave.
A pwm controller adjusts the duty cycle to match your needs. You do not need to change the voltage or current directly. You just change how long the signal stays on during each cycle.
Digital Signals and Power Control
PWM uses digital signals to control power. You switch the signal between fully on and fully off. This approach makes pwm very efficient. Unlike other methods that waste energy as heat, pwm only uses power when the signal is on. You get less energy loss and better performance.
You also find that pwm stands out for its cost and simplicity. The design uses fewer parts, which keeps costs low. You can operate and maintain pwm systems easily. More complex methods, like maximum power point tracking, need more components and cost more.
When you use pwm, you get a reliable way to control motors, lights, and other devices. The pwm signal gives you smooth control without wasting energy. You see this technology in everything from home appliances to electric vehicles.
Tip: If you want to control the speed of a fan or the brightness of an LED, pwm gives you a simple and efficient solution.
How PWM Works
Adjusting Pulse Width
When you use pulse width modulation, you control how long each pulse stays on during a cycle. This process is called adjusting the pulse width. You can follow a few technical steps to make this adjustment work for your device:
Start with a calibration phase. You measure the pulse width at different known settings and record how the device responds. This step helps you build a reference table.
Move to the correction phase. Each time you want to change the output, you measure the new pulse width, check your reference table, and calculate the final setting using a compensation model.
This method lets you fine-tune the output of devices like motors or LEDs. You do not need to change the voltage directly. Instead, you let the pwm controller handle the timing of the pulses. By adjusting the duty cycle, you set how much power the device receives on average. This approach gives you precise control and helps you save energy.
PWM Signal and Power Delivery
The pwm signal switches between on and off states at high speed. You can think of it as a digital heartbeat for your device. When you increase the duty cycle, you keep the signal on for a longer part of each cycle. This change sends more average power to the device. When you decrease the duty cycle, you reduce the average power.
For example, pwm dimming lets you control LED brightness by switching the light on and off thousands of times per second. You adjust the duty cycle to change how bright the LED appears. This method gives you smooth control and reduces wasted energy. You see the same principle in motor speed control. By changing the duty cycle, you set how fast the motor spins.
However, using a pwm signal instead of a smooth sine wave can cause some extra effects. The sharp switching creates non-sinusoidal waveforms, which can increase total harmonic distortion. This distortion sometimes leads to extra heat in motors and sensitive circuits. You may notice a small rise in energy use, usually between five and fifteen percent compared to ideal conditions. Still, the benefits of pulse width modulation—like precise control and efficiency—often outweigh these effects.
Simple Analogy: Light Switch
Imagine you want to control the brightness of a lamp, but you only have a simple on-off switch. You cannot dim the lamp by turning a knob. Instead, you turn the switch on and off very quickly. If you keep the lamp on for half the time and off for half the time, the room looks half as bright. If you keep it on for most of the time, the room looks brighter.
This is how pulse width modulation works. The duty cycle is like the amount of time you keep the switch on. A higher duty cycle means more light, just as a longer "on" time makes the lamp brighter. A lower duty cycle means less light. The pwm signal acts as your fast-moving hand on the switch, creating the effect of smooth dimming even though the power is always fully on or off.
Tip: You can use this same idea to control the speed of a fan or the volume of a buzzer. Pulse width modulation gives you flexible, efficient control with simple digital signals.
Why Use PWM
Efficiency Benefits
You want your devices to use energy wisely. Pulse width modulation stands out as a control method that gives you high efficiency. When you use pwm, you switch the power fully on or off instead of wasting energy as heat. This approach lets you deliver only the average power your device needs. For example, a pwm controller can keep a motor running smoothly without overheating. You also see less energy loss in lighting systems. This means your electronics last longer and your energy bills stay lower.
Control and Versatility
PWM gives you precise control over many types of devices. You can adjust the duty cycle to set the exact speed of a motor or the brightness of an LED. This flexibility makes pwm useful in many situations. You also benefit from features like:
Accurate pwm signal analysis, which helps you get reliable data for diagnostics.
Versatile compatibility, so you can use pwm with many different electronic systems.
Streamlined troubleshooting, which lets you find and fix problems quickly.
You can trust pwm to give you smooth and reliable performance, whether you work with simple gadgets or complex machines.
PWM in Electronics
You find pwm in many electronic devices you use every day. The technology appears in everything from voltage regulators to motor controllers. The table below shows some common examples:
Device Type | Description |
|---|---|
Voltage Regulator | Uses pulse width modulation to control the average output voltage in switched mode regulators. |
Motor Controllers | Often utilize pwm for speed control in electric motors. |
LED Dimmers | Use pwm to adjust brightness levels in LED lighting. |
PWM does have some limits. For example, some devices like the Raspberry Pi offer only one pwm pin, which restricts output options. Software pwm methods can also have low timing resolution and high jitter, making control less precise. Still, the advantages of pwm—such as high efficiency, flexible control, and wide compatibility—make it a top choice for modern electronics.
PWM Applications
Motor Speed Control
You can use pwm to control the speed of motors with high accuracy. In dc motor speed control, you rapidly switch the motor on and off. This technique lets you adjust the speed by changing the duty cycle of the pwm signal. You get better torque and smoother operation compared to simple voltage control. You can set the speed from almost zero to full power. This control method also reduces pressure ripple, which helps the motor run more quietly and efficiently.
PWM switches the motor on and off quickly.
Adjusting the duty cycle changes the average power sent to the motor.
You get precise speed control and stable performance.
Dimming LEDs
PWM gives you a reliable way to dim LEDs. You cycle the LED on and off at a speed too fast for your eyes to notice. By adjusting the duty cycle, you control how bright the light appears. This method keeps the color of the light stable and prevents flickering. You also extend the lifespan of your LEDs.
Advantage | Description |
|---|---|
Rapid Switching | Turns the LED on and off quickly, so you see smooth light. |
Duty Cycle Control | Lets you set the brightness by changing the on-time in each cycle. |
Flicker-Free Light | Maintains steady color and prevents flicker, even at low brightness levels. |
Tip: Use pwm for LED dimming to get smooth, stable light in your home or projects.
Switching Power Supplies
You find pulse width modulation in switching power supplies. PWM adjusts the energy sent to the load based on what you need. The pwm signal controls how long the transistors stay on. This high-frequency switching makes the power supply smaller and more efficient. You save energy and reduce heat, which helps your devices last longer.
PWM regulates power delivery with high precision.
Smaller magnetic parts mean lighter and more compact devices.
You get better efficiency and lower energy costs.
Everyday Devices
You see pwm in many devices you use daily. Home appliances, electric vehicles, and smart gadgets all use this technology. Industries like automotive and industrial automation rely on pwm for energy-efficient and precise control solutions. As electronic control systems improve, you will see even more applications for pwm in the future.
Note: Pulse width modulation helps you get the most out of your electronics by giving you flexible, efficient control in many real-world situations.
PWM Example

How PWM Dims an LED
You can use pulse width modulation to control the brightness of an LED in a simple way. Imagine you want to make an LED glow softly or shine brightly. You do not need a special dimmer switch. Instead, you use a pwm signal to turn the LED on and off very quickly. This switching happens so fast that your eyes cannot see the flicker. The LED appears to change brightness smoothly.
When you use pwm dimming, the LED receives power in short bursts. Each burst lasts only a few milliseconds. If you increase the time the LED stays on during each burst, the light looks brighter. If you decrease the on-time, the LED looks dimmer. This method gives you smooth control over the brightness without changing the color of the light.
Tip: You can use this same technique in your own projects. Many microcontrollers, like Arduino, have built-in pwm features for easy LED dimming.
Changing the Duty Cycle
The duty cycle is the key to controlling how bright the LED appears. You measure the duty cycle as a percentage. For example, a 100% duty cycle means the LED stays on all the time. A 0% duty cycle means the LED stays off. Most of the time, you use values between these two extremes.
A higher duty cycle sends more average power to the LED. The LED shines brighter.
A lower duty cycle reduces the average power. The LED becomes dimmer.
You can see this relationship in the table below:
Duty Cycle (%) | LED Brightness |
|---|---|
100 | Maximum (fully on) |
75 | Bright |
50 | Medium |
25 | Dim |
0 | Off |
When you adjust the duty cycle, you change how much time the LED spends on versus off. This simple adjustment lets you control the brightness with great accuracy. You do not need to change the voltage or add extra parts. PWM gives you an efficient and reliable way to manage LED lighting.
PWM Key Points
Quick Recap
You have learned that pulse width modulation gives you a simple way to control power in electronic devices. You can use pwm to adjust the speed of motors, dim LEDs, and regulate voltage in power supplies. The main idea is to switch the signal on and off quickly, changing the average power sent to your device. You control this process by adjusting the duty cycle, which sets how long the signal stays on during each cycle.
Here is a table that summarizes the main components and their roles in a typical pwm system:
Component | Description |
|---|---|
DC Source | Supplies the initial voltage for the system. |
Controlled Switch | Turns current flow on and off based on the pwm signal. |
Diode | Keeps current moving in one direction, preventing backflow. |
Inductor | Stores energy and smooths out current flow. |
Capacitor | Reduces ripple and stabilizes output voltage. |
Duty Cycle | Sets the ratio of on-time to total cycle time, controlling output voltage. |
Output Voltage | The final voltage delivered to your device after modulation. |
Tip: You can use pwm in many projects, from robotics to home automation, because it offers reliable and efficient control.
Essential Facts
You should remember several key points about pwm and its practical uses:
Duty cycle lets you control how much power your device receives. A higher duty cycle means more power, while a lower duty cycle means less.
PWM introduces cooling gaps between energy bursts. This feature helps materials release heat, which is important for heat-sensitive applications.
You can use pwm in cutting and manufacturing. Lowering the duty cycle reduces heat buildup, which improves quality and reduces damage.
High-frequency pulsing allows faster processing and less heat-affected zones in advanced materials.
Continuous movement during cutting, known as the FlyCut technique, prevents heat buildup and increases efficiency.
Here is a table that highlights important facts about sinusoidal pulse width modulation (SPWM), a special type of pwm used in advanced electronics:
Key Aspect | Description |
|---|---|
Definition | SPWM controls electrical pulses to match a sine wave shape. |
Applications | Used in voltage source inverters, DC-AC conversion, and harmonic control. |
Benefits | Delivers better waveform quality, lower distortion, improved efficiency, and reduced noise. |
Working Principle | Compares a sine wave with a high-frequency carrier to create matching pulses. |
Note: You can use pulse width modulation to improve efficiency, reduce heat, and achieve precise control in many electronic systems.
You now see how pulse width modulation makes electronics simple and powerful. You can use PWM for motor speed control, audio tone generation, and signal testing. The 555 timer circuit shows how easy it is to create PWM signals with just a few parts. You only need one signal wire or a few lines of code to get started. When you understand PWM, you gain more control over circuits and feel confident building or troubleshooting your own projects.
FAQ
What devices use PWM?
You find PWM in many devices. Examples include LED dimmers, computer fans, electric vehicles, and audio amplifiers. PWM helps you control speed, brightness, or power efficiently.
Can you see PWM flicker with your eyes?
Most of the time, you cannot see PWM flicker. The switching happens faster than your eyes can detect. If the frequency is too low, you might notice flicker in some lights.
Is PWM better than lowering voltage?
Yes, PWM usually works better. You get higher efficiency and less heat. Lowering voltage can waste energy and reduce device performance. PWM gives you smoother and more reliable control.
How do you create a PWM signal?
You can use a microcontroller, a 555 timer, or a dedicated PWM chip. Many platforms, like Arduino, have built-in PWM features. You only need a few lines of code to start.
See Also
Understanding Multi-Frequency Displays for Daily Laptop Use
LTPO Technology: Enhancing Phone Battery Life and Scrolling
Exploring Smart Window Innovations for Contemporary Architecture