Step by Step Guide to Setting Up a Portable Monitor in 2026
You can set up a portable monitor in just a few steps—connect the right cable, power it up, and tweak your display settings. A portable monitor gives you freedom to work anywhere, boosts your productivity, and makes multitasking easy. Many users see up to a 42% jump in productivity, with some reporting a 50% workflow improvement when adding a second screen. Before you start, check your device’s ports and use certified cables to avoid these common issues:
Compatibility Issue | Causes |
|---|---|
Monitor shows no signal | Low-spec HDMI cables, DP 1.2 limitations |
Only 1080p available | Limited bandwidth on HDMI port |
Insufficient power delivery | Multiple devices without adequate PD input |
Outdated graphics drivers | Fails to auto-detect external displays |
Design-related issues | Overcrowded ports, poor heat dissipation |
Key Takeaways
Setting up a portable monitor boosts productivity by allowing multitasking and reducing 'Alt-Tab fatigue.'
Choose the right cables for your devices to ensure a smooth connection and avoid common issues.
Portable monitors are lightweight and energy-efficient, making them perfect for work on the go.
Adjust display settings to match your monitor's native resolution for the best image quality.
Regular maintenance, like cleaning and proper storage, extends the life of your portable monitor.
Portable Monitor Basics
Key Features
When you pick up a portable monitor in 2026, you notice the difference right away. These screens feel light and slim, so you can slip one into your laptop bag without a second thought. You get a device that balances durability with a design made for travel. If you compare it to a standard desktop monitor, the portable display wins on weight and thickness every time.
Here’s a quick look at how portable monitors stack up against traditional monitors:
Feature | Portable Monitors | Traditional Monitors |
|---|---|---|
Eye-Friendly Technology | E-Ink technology reduces eye strain | LCD/OLED screens emit blue light |
Energy Efficiency | Minimal energy consumption, long battery life | Higher energy consumption |
Lightweight Design | Designed for portability and travel | Generally heavier and less portable |
You also get the latest eye-friendly tech. Many portable touchscreen monitor models use E-Ink displays, which help reduce eye strain during long work sessions. You can work longer without feeling tired. These monitors also use less energy, so you can go through a full day without hunting for an outlet.
Main Benefits
A portable monitor changes the way you work and play. You can set up a second screen anywhere—at a café, in a hotel room, or even on a train. This flexibility means you never have to feel stuck with a single small screen.
Here’s what you gain:
Enhanced productivity through multitasking
Portability and easy setup with lightweight designs
Ergonomic flexibility to create a comfortable workspace anywhere
Better presentation options for meetings or group work
Compatibility with many devices for seamless workflow
You can say goodbye to 'Alt-Tab fatigue.' With a portable touchscreen monitor, you keep your reference material on one screen and your main task on the other. This setup boosts your workflow and helps you stay focused. Many users notice a real productivity enhancement, especially when juggling emails, documents, and creative projects. The multitasking capabilities of a portable display make it a smart choice for remote work, travel, or even gaming on the go.
Setup Preparation
Required Cables and Accessories
Before you dive into connecting your portable monitor, you need the right cables and accessories. Here’s a quick checklist to help you get started:
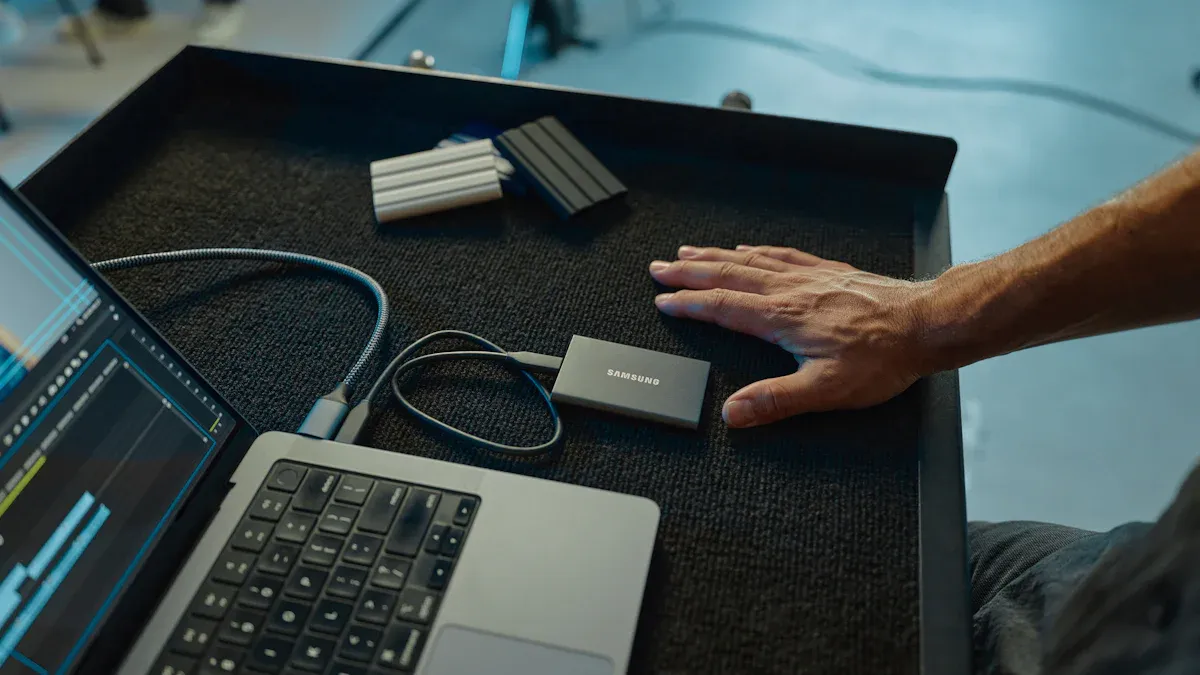
USB-C to USB-C Cable (USB 2.0, 100W)
This cable handles both charging and video for most laptops, tablets, and smartphones. It’s the go-to for a simple, one-cable setup.USB4 or Thunderbolt 4/5 Cable (240W, 40Gbps+)
If you want top performance, this cable supports fast data transfer and powers high-end devices. It’s perfect for gaming laptops or creative workstations.USB-A to USB-C Cable
Some older laptops or desktops only have USB-A ports. This cable keeps those devices in the game.USB-C to Lightning
If you use an older iPhone or iPad, you’ll need this cable to connect your portable monitor.
Don’t forget a power adapter if your monitor doesn’t draw enough power from your device. Some setups need a separate charger to keep everything running smoothly.
Device Compatibility
You want your setup to work right the first time. Device compatibility plays a big role in that. Here’s what you should check:
Your device’s ports decide which cables you need.
Some monitors need special adapters. If your device doesn’t match, setup gets tricky.
Knowing your device’s ports saves you from headaches later.
Many new monitors offer a “one-cable solution” with USB-C. Your laptop or phone must support video output over USB-C for this to work.
Tip: Always check your device’s specs before buying a portable monitor. It saves time and money.
Understanding Ports
Portable monitors in 2026 use a mix of ports. Here’s what you’ll see most often:
USB Type-C: Handles video, power, and data. Look for DisplayPort Alt Mode support.
Thunderbolt 3/4 or USB4: These ports use USB-C connectors and support high-speed video output.
USB Type-A: Some monitors include dongles for older devices.
USB-C stands out because it can deliver power and video with one cable. That means fewer wires and a cleaner setup. If your device supports power passthrough, you can even charge your laptop while using the monitor. This makes your workspace simple and portable.
Portable Monitor Setup Steps
Setting up your portable monitor can feel easy when you follow the right steps. You can connect your monitor to a laptop, smartphone, tablet, or gaming console. Each device has its own installation process, but you will see that most setups use USB-C or HDMI cables. Let’s walk through each installation so you can boost productivity and streamline your workflow.
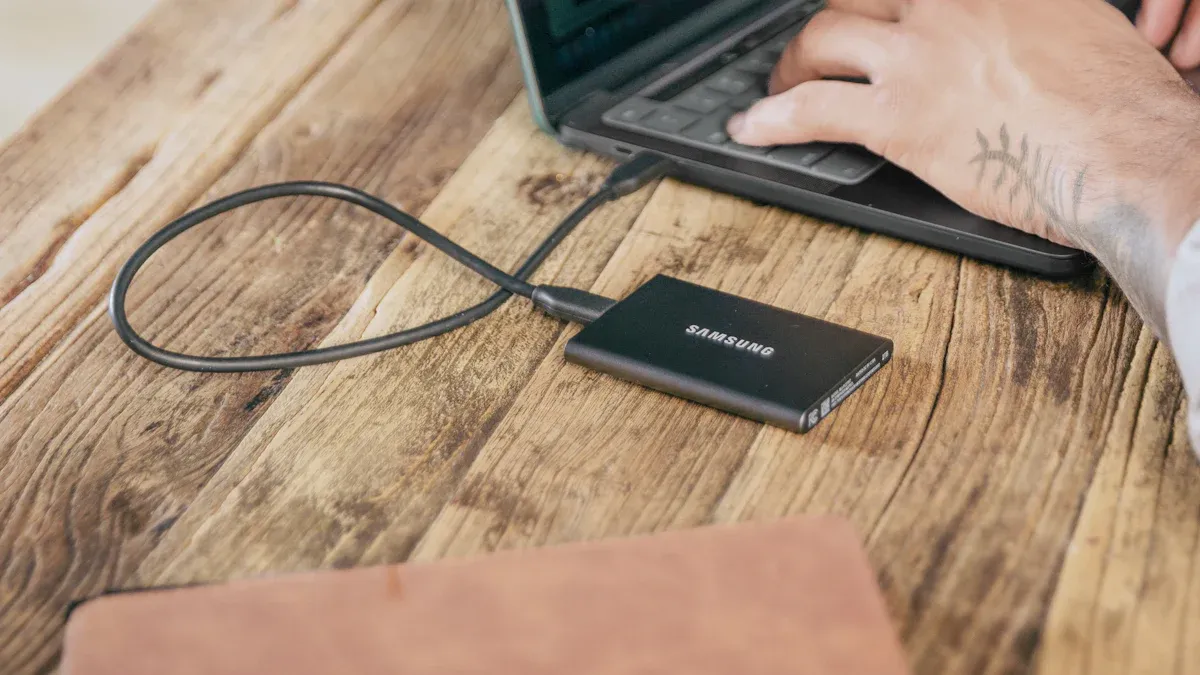
Setup with Laptop
You want to connect your portable monitor to a laptop for a dual-screen setup. This installation helps you multitask and manage your workflow better. Here’s how you can do it:
Find the correct ports on your laptop and portable monitor. Most laptops in 2026 have Thunderbolt or full-function USB-C ports.
Take the USB-C cable that came with your monitor.
Plug one end of the cable into your laptop’s USB-C port.
Plug the other end into your portable monitor.
If your monitor supports power passthrough, connect your laptop’s charger to the monitor’s second USB-C port. This keeps your laptop charged during installation.
If your laptop only has HDMI, use an HDMI cable instead. Plug it into both devices and connect a power adapter to the monitor.
Tip: USB-C setups make installation faster and reduce cable clutter. You get power and video in one cable.
Setup with Smartphone or Tablet
You can use your portable monitor with a smartphone or tablet for presentations or mobile productivity. The installation steps depend on your device:
Android (USB-C):
Use a USB-C to USB-C cable. Plug your phone into the monitor. Make sure your phone supports DisplayPort Alt Mode.Samsung Devices:
Enable Samsung DeX mode for a desktop-like experience. Connect your phone to the monitor with USB-C.iPhone (Lightning):
Use Apple’s Lightning Digital AV Adapter. Connect it to your phone. Attach an HDMI cable from the adapter to the monitor. Provide separate power to the monitor.iPhone 15 and newer (USB-C):
Connect directly to the monitor using a USB-C to USB-C cable. This handles video and power.
Note: Always check your device’s compatibility before installation. Some tablets may need extra adapters.
Setup with Gaming Console
You can use a portable monitor for gaming on the go. The installation process usually involves HDMI or USB-C. Here’s what you need to know:
Feature | Description |
|---|---|
Refresh Rate | Choose a monitor with 120 Hz or 144 Hz to avoid frame stutter and motion lag. |
Response Time | Look for monitors rated at 1–5 ms for minimal ghosting or delay. |
Connectivity | HDMI 2.1 or USB-C ensures consistent signal transfer and smooth gameplay. |
Resolution | 1080p works for most setups. 4K gives sharper detail but needs more bandwidth. |
Power Supply | Connect your monitor to power for best performance. Battery mode may lower brightness or refresh rate. |
To install your portable monitor with a gaming console:
Plug an HDMI cable into your console and monitor.
Connect the monitor to a power source.
Adjust the monitor’s settings for refresh rate and resolution.
If your console supports USB-C, use a USB-C cable for video and power.
Tip: Always use the power adapter for gaming setups. This keeps your monitor running at full brightness and refresh rate.
Powering the Monitor
You need to plan your power installation for reliable performance. Here are some best practices:
Assess your power needs based on how you use your portable monitor.
Create a power budget that considers peak consumption and environmental factors.
Plan for future upgrades so you don’t need major changes later.
Make sure your charging setup can handle peak demands and is easy to use.
Learn how to optimize power and maintain battery health.
Note: Power passthrough with USB-C lets you charge your laptop and monitor at the same time. This makes your installation more efficient.
Driver and Software Installation
You want your portable monitor to work smoothly after installation. Here’s what you should do:
Mac users often need to install drivers from the hardware manufacturer. Without these drivers, extended screens may not work.
Most modern touch display solutions install standard drivers automatically. If your monitor needs special features like multi-gesture support or palm rejection, download drivers from the manufacturer’s support site.
If automatic installation fails, visit the manufacturer’s website and get the latest drivers.
Tip: Always check for driver updates after installation. This keeps your monitor working with new devices and improves productivity.
You can now enjoy a portable monitor setup that fits your workflow. Whether you use it for work, gaming, or presentations, the right installation steps make your experience seamless.
Display Configuration
Adjusting Resolution
You want your portable monitor to look sharp and clear. Adjusting the resolution helps you get the best image quality. Here’s how you can do it on different systems:
On Windows, right-click your desktop. Choose Display Settings. Scroll down to 'Multiple Displays' and select 'Extend these displays.'
On macOS, open System Preferences. Go to Displays. Click Arrangement and uncheck 'Mirror Displays.'
Make sure the resolution matches your monitor’s native specs. Most portable screens use 1920x1080. This gives you crisp visuals and smooth performance.
If your display looks blurry or stretched, double-check the resolution setting. Matching the native resolution makes everything easier to read.
Touchscreen Calibration
If your portable monitor has a touchscreen, you want it to respond accurately. Calibration helps you fix touch offset and multi-touch issues. Follow these steps:
Prepare your workspace. Clean the screen and keep the environment stable.
Check all connections between your monitor and device. Update drivers and firmware if needed.
Use built-in calibration tools. Windows offers a calibration tool. macOS has Display Calibrator Assistant.
Try third-party calibration software if you want advanced features.
Troubleshoot common problems like touch offset or poor multi-touch recognition.
A well-calibrated touchscreen makes your display more responsive and enjoyable to use.
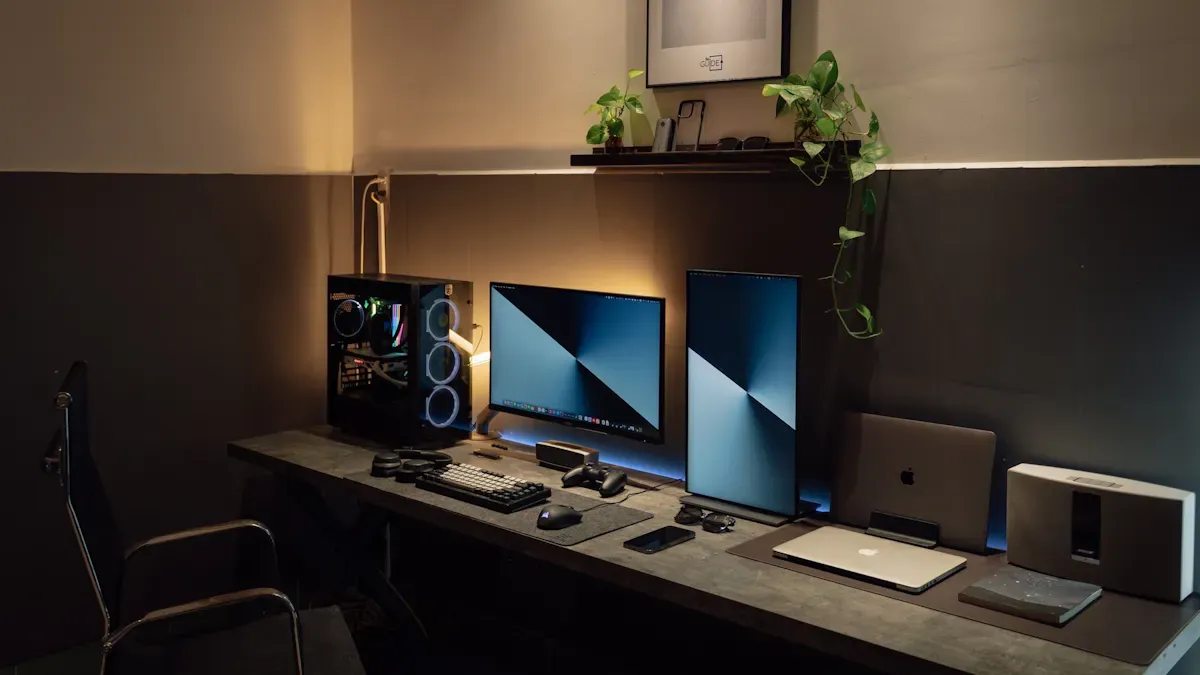
Managing Multiple Displays
Adding a second monitor boosts productivity and makes multitasking easier. You can manage several displays without losing focus. Here’s what you should know:
Studies show that using a second screen can increase productivity by 20-30%.
You can keep your main task on one display and reference material on another. This helps you stay organized.
Position your portable monitor at eye level. Good placement improves posture and reduces neck strain.
Try different layouts to find what works best for you. A well-managed setup helps you work smarter and feel more comfortable.
Troubleshooting Setup Issues
No Signal or Blank Screen
You might see a blank screen or a "no signal" message when you set up your portable monitor. This problem can feel frustrating, but you can fix it by checking a few common causes. Here’s a quick table to help you troubleshoot:
Common Cause | Solution |
|---|---|
Power delivery problems | Use the original USB-C to USB-C cable that came in the box. |
Cable compatibility | Make sure your USB-C cable supports both power and video. |
Incorrect input settings | Select the correct input source in the monitor’s menu. |
Device compatibility | Check if your laptop or tablet supports USB-C with DisplayPort Alt Mode. |
Weak power from laptops | Plug in the PD charger, then connect with mini-HDMI for video. |
Eco Mode settings | Turn off “Eco Mode” in the settings menu. |
Android external display mode | Enable external display mode or Samsung DeX. |
Low-quality cables | Always use high-quality, certified cables for best results. |
Tip: If you travel, pack a spare high-quality cable. Cheap cables often cause signal problems.
Power and Charging Problems
If your monitor won’t turn on or keeps losing power, try these steps:
Check that the USB-C cable is firmly connected to both the monitor and your device.
Connect the USB-C port on the monitor to your PC. Make sure your PC supports DisplayPort Alternate Mode and gives at least 7.5 W of power.
Use the cable that came with your monitor or a certified replacement.
Plug in a PD charger before connecting any device. Some monitors need this to work right.
Use a PD charger with at least 25 W, but 45 W works even better.
Unplug the charging cable if you won’t use the monitor for a while, especially when it’s off or in sleep mode.
Note: A strong power supply keeps your monitor bright and stable.
Display Quality Issues
You might notice flickering, strange colors, or blurry text. These problems often come from simple things. Here’s what you can do:
Check all cable connections. Make sure everything is plugged in tight.
Try a different cable or connection type to see if the problem goes away.
Adjust brightness and contrast in the monitor’s settings.
Update your graphics drivers and any display software.
Test the monitor with another device. This helps you find out if the problem is with the monitor or your computer.
Make sure your power supply matches the monitor’s needs. Weak power can cause flickering and brightness changes.
If you still see problems, your monitor’s panel or backlight may need service.
Touchscreen Not Working
Touchscreen issues can slow you down. You can fix most problems with a few simple steps:
Install the latest drivers from the manufacturer’s website.
Clean the screen often and check for any warning signs.
Use built-in calibration tools to fine-tune touch accuracy.
If problems continue, follow a step-by-step troubleshooting guide to find the cause.
Regular cleaning and updates keep your touchscreen smooth and reliable.
Maintenance Tips
Cleaning and Storage
You want your portable monitor to look great and last longer. Cleaning it the right way makes a big difference. Here’s a simple routine you can follow:
Turn off your monitor and unplug all cables before you start.
Grab a soft, clean microfiber cloth. Avoid rough fabrics that might scratch the screen.
Pick a specialized screen cleaner or use distilled water. Never spray directly on the screen—always apply to the cloth.
Wipe gently from side to side and top to bottom. Don’t press too hard.
Keep moisture away from ports and vents.
Touch the screen only after eliminating static electricity to avoid attracting dust.
You can also check this quick guide for safe cleaning agents:
Cleaning Agent | Use Case |
|---|---|
Distilled water | Removes dust and fingerprints safely |
Isopropyl alcohol (IPA) | Good for cleaning circuit boards, not for glass |
Diluted white vinegar (1:5) | Handles stubborn stains, use sparingly |
Specialized display cleaners | Use on cloth, never directly on the screen |
Store your monitor in a padded sleeve or case when you travel. This protects it from scratches and bumps.
Cable and Port Care
Cables and ports keep your monitor connected and working. Treat them well to avoid annoying problems:
Use high-quality, certified USB-C cables and hubs.
Don’t bend, twist, or yank cables. Handle connectors gently.
Keep your device’s software and drivers up to date.
Avoid plugging too many high-power devices into one hub.
Clean USB-C ports regularly to remove dust and debris.
Pick hubs that match your device’s power needs.
Choose hubs with sturdy materials for better durability.
Tip: A little care goes a long way. Clean ports and good cables mean fewer connection issues.
Longevity Best Practices
You can help your portable monitor last for years with a few easy habits:
Wipe the screen daily with a dry microfiber cloth to keep dust away.
Wash your hands before using the monitor to reduce smudges.
Watch out for extreme temperatures or humidity.
Set aside time each week for a deeper clean, including hard-to-reach spots.
Use cotton swabs or compressed air for detailed cleaning.
Calibrate the touchscreen after deep cleaning to keep it accurate.
Taking care of your monitor doesn’t take much time, but it pays off with better performance and a longer life.
You’ve learned how to set up your portable monitor and unlock its full potential. Check out these key benefits:
Benefit | Description |
|---|---|
Dual screens help you finish tasks faster. | |
Enhanced Multitasking | You can monitor two things at once without switching. |
Ergonomic Advantages | Better posture and less neck strain. |
Flexibility | Work anywhere without losing efficiency. |
Try connecting your monitor to laptops, phones, or consoles using USB-C, HDMI, or wireless options. If you run into issues, use manufacturer guides and troubleshooting tools. Got a tip or question? Drop it in the comments!
FAQ
Can I use a portable monitor with any device?
Most portable monitors work with laptops, tablets, and phones. You need the right cable and a device that supports video output. Always check your device’s specs before you buy a monitor.
Do portable monitors need a separate power source?
Some monitors get power from your device through USB-C. Others need a separate charger. If your monitor dims or turns off, plug it into an outlet for steady power.
How do I switch between extended and mirrored display modes?
On Windows, press Windows + P and pick your mode. On Mac, open Display settings and choose "Mirror" or "Extend." You can change this anytime.
What should I do if my portable monitor touchscreen is not responding?
Try these steps:
Clean the screen.
Check all cables.
Update your drivers.
Run the calibration tool.
If it still does not work, contact support.
See Also
Seven Essential Tips for Choosing Your Ideal 8K Monitor
Step-By-Step Guide to Selecting Your Perfect Monitor
Three Affordable Gaming Monitors You Should Consider in 2025