How to Upgrade Your Home with E-Paper Displays in 2026
You can upgrade your home in 2026 with an e-paper display that turns your living space into a smarter, more connected place. Setting up a family dashboard is simple and lets you see calendar events, weather, and energy stats at a glance. Many homeowners love the ultra-low power use, always-on screen, and easy wireless control. You get real-time notifications, security alerts, and smart thermostat info right where you need it. Enjoy a setup that needs minimal maintenance and feels eco-friendly.
Tip: Both beginners and tech fans can follow easy steps to set up, integrate, and customize their display.
Key Takeaways
E-paper displays are energy-efficient and eco-friendly, using 90-95% less power than traditional LCD screens.
Setting up an e-paper dashboard is simple and requires no coding skills; use no-code tools for easy customization.
Choose the right size and type of e-paper display for your needs, with options ranging from small e-readers to large family dashboards.
Integrate your e-paper display with smart home systems like Home Assistant for real-time updates and control of devices.
Regular maintenance and updates keep your e-paper dashboard running smoothly and ensure it stays relevant with new features.
E-Paper Display Essentials

What Is an E-Paper Display
You might wonder what makes an e-paper display different from the screens you see every day. E-paper, sometimes called e-ink display, uses tiny capsules filled with black and white particles that move with electric charges. This technology lets you read information even in bright sunlight, just like paper. You don’t need a backlight, so the screen stays easy on your eyes and saves energy. Take a look at how e-paper compares to traditional screens:
Feature | E-Paper Display | Traditional LCD/OLED |
|---|---|---|
Backlight | No, uses ambient light | Yes, requires backlighting |
Power Consumption | Ultra-low power consumption | Higher power consumption |
Image Persistence | Remains visible without power | Requires continuous power |
Contrast in Bright Environments | High contrast | Varies, often lower in bright light |
Refresh Speed | Limited refresh speed | Faster refresh rates |
Use Case | Information-centric interfaces | General use, including video |
Key Benefits for Smart Homes
You get a lot of advantages when you use an e-paper display in your home. These screens only use power when the image changes, so you can leave your dashboard on all day without worrying about your electric bill. You can read your calendar and weather updates from any angle, even in direct sunlight. E-paper works well for smart thermostats, home control panels, and low-power sensors. The display lasts for weeks on a single charge, which means less hassle for you. You also help the environment by using less energy and reducing the need for printed paper.
Note: E-paper displays are flexible and durable, so you can try creative designs for your smart home setup.
Popular Types and Sizes
You have many choices when picking an epaper for your home. E-readers still lead the market, but large panels are now common in smart homes. SOLUM offers e-paper displays from 25.3 to 32 inches, perfect for dashboards or family hubs. You can mount these displays in your kitchen, hallway, or office. They fit well for showing your calendar and weather, reminders, or even energy stats.
Choosing Hardware and Software
E-Paper Display Devices
You have a lot of choices when picking an e-paper display for your home. Companies like AUO Display+, Samsung, BOE, and LG have all shown off new color and large-format displays at ISE 2026. These displays look sharp and work well for smart home dashboards. If you want something simple, the Seeed Studio reTerminal E1001 is a great pick. It has a 7.5-inch monochrome screen, refreshes in just two seconds, and runs for months on a single charge. You can set it up with zero coding, which makes it perfect for beginners. For bigger projects, you might want a display that’s over 10 inches so you can see more information at once, like your calendar and weather.
You can also check out Pervasive Displays, Papercast, and Panox Display. They offer a range of e-paper displays and accessories. Some even work with solar power, so you can use them indoors or outdoors.
Single-Board Computers and Accessories
If you like to tinker, you can build your own epaper dashboard with a single-board computer. The Raspberry Pi Zero 2 W gives you good performance for a smart home hub. You can connect it to a larger e-paper display and show things like temperature, reminders, or energy stats. Panox Display has modules that work with Arduino, so you can customize your setup. Look for displays with partial refresh capability. This lets you update just part of the screen, which is handy for things that change often.
No-Code and Home Assistant Tools
You don’t need to be a programmer to create a smart dashboard. Tools like the Seeed HA Discovery integration make setup easy. You can add up to 20 entities, but six looks best on the e-ink screen. You won’t have to mess with YAML or complex settings. Home Assistant works well with these tools, so you can control your smart devices and see updates in real time. No-code editors let you drag and drop widgets for things like calendar and weather, temperature, or lights. Always check that your display and software are compatible before you buy. Look for options that support the features you want, like battery life, screen size, and easy integration.
Setting Up Your Epaper Dashboard
Planning Your Dashboard Layout
You want your epaper dashboard to look great and work smoothly in your home. Start by picking a true e-paper display, like Waveshare, for clear images that you can see from any angle. Avoid LCD or AMOLED screens because they glare and distort in low light. Wall-mounting your dashboard makes it easy to check your smart home data and see updates at a glance.
Think about what you want to display. You might want calendar and weather, temperature, or reminders. Keep your layout simple and clear. Arrange widgets so you can find information fast. If you use Home Assistant or ESPHome, you get seamless integration and control. Make sure your dashboard fits your space and matches your style.
Tip: Prioritize clarity and ease of use. A beautiful dashboard helps your family stay organized and informed.
Installation Steps
Setting up your epaper dashboard feels easy when you follow these steps:
Install ESPHome in Home Assistant. Go to Settings, then Add-ons, and open the Add-on Store. Find ESPHome, install it, and start the service.
Add a new device in ESPHome. Choose a name like "epaper_dashboard" and select ESP32-C3 as your board. Click Edit to customize.
Flash your dashboard. Replace the auto-generated YAML with your dashboard.yaml file. Update your Wi-Fi and Home Assistant API credentials. Match sensor IDs to your setup.
Customize your dashboard. Add sensors for energy usage, security status, or temperature. Re-order slides or combine widgets. Change icons, fonts, or layout elements to fit your needs.
You might run into a few challenges. Here’s a quick look at common issues and how to handle them:
Challenge | Description |
|---|---|
Software Requirements | You may need custom software, either SaaS or local installation with Docker. |
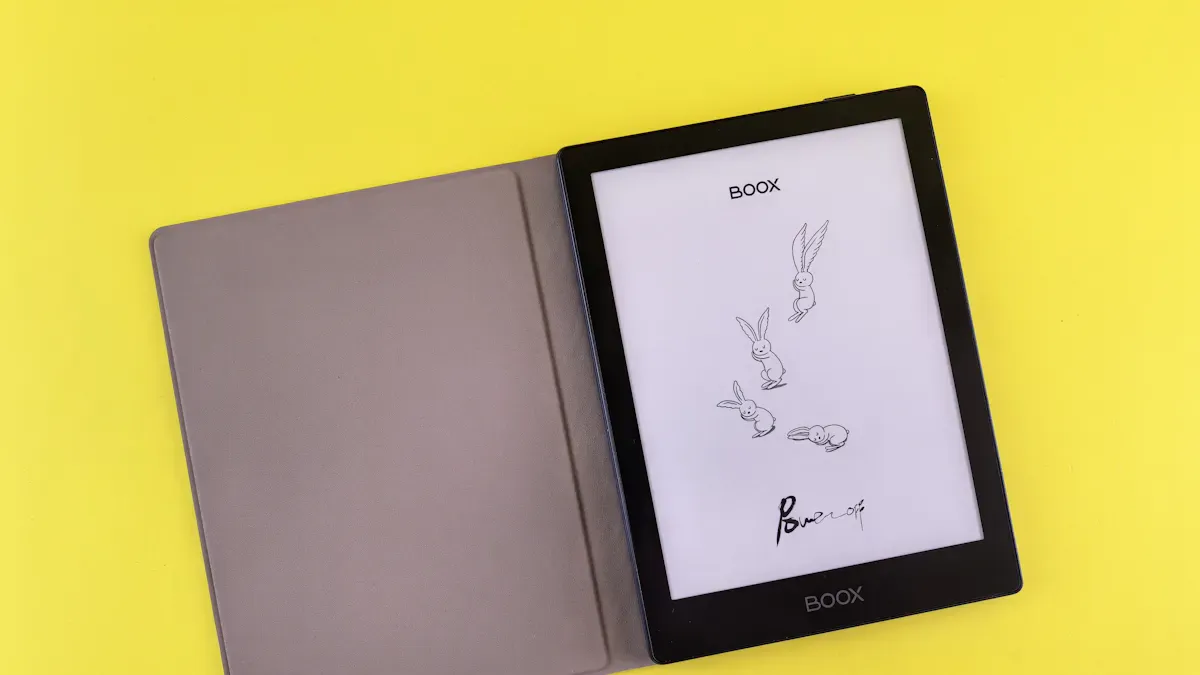
Hardware Costs | Large displays can be expensive, like a 25” Boox display costing $2000. |
Integration Complexities | Data-fetching logic and reliable background tasks are important for updates. |
Note: If you use no-code tools, you can drag and drop widgets for calendar and weather, lights, or reminders. You don’t need to write code or mess with YAML.
Integrating with Smart Home Systems
You can connect your epaper dashboard to popular smart home systems like Home Assistant or SmartThings. Standardized APIs let your dashboard talk to these platforms. MQTT protocol helps you control devices across multiple systems and keeps everything in sync.
Integration Method | Description |
|---|---|
Standardized APIs | Lets your dashboard communicate with Home Assistant and SmartThings. |
MQTT Protocol | Centralizes control and boosts interoperability across platforms. |
Security matters when you connect your dashboard to your home network. Here are some best practices:
Security Consideration | Description |
|---|---|
Network Segmentation | Keep ESPHome devices on the same network as Home Assistant. |
Prefer Ethernet | Use Ethernet for better security and reliability. |
WiFi Security | Use WPA2 or WPA3, strong passwords, and disable WPS. |
mDNS Security | mDNS broadcasts device names; be aware of this risk. |
API Encryption | Enable API encryption and use unique keys for each device. |
Web Server Authentication | Set strong passwords or disable web server access if not needed. |
OTA Password Protection | Protect OTA updates with strong, unique passwords and rotate them often. |
You can use your epaper dashboard for many practical purposes in your home:
Meeting schedule display shows today’s events from Google Calendar or Outlook.
Task manager syncs your to-do lists from Todoist or Trello.
Stock ticker displays real-time prices for stocks or cryptocurrency.
Public transit timetable shows arrival times for buses or trains.
Environmental monitor displays local air quality or pollen levels.
Dynamic digital photo frame fetches new photos from your web album.
Server status monitor tells you if your website is online.
You can also show weather forecast, reminders, or control smart devices. Your dashboard keeps your home organized and helps everyone stay informed.
Callout: Try starting with a simple calendar and weather dashboard. Add more features as you get comfortable with your setup.
Troubleshooting and Future-Proofing
Common Issues and Fixes
You might run into a few bumps when you set up your epaper dashboard at home. Sometimes, the Puppet add-on doesn’t work as expected. You can switch to black and white displays until the developers release updates. Memory limitations can cause image updating problems. If your dashboard stops showing the latest temperature or weather forecast, check your URL configurations for image sources. Here’s a quick table to help you spot and fix common issues:
Issue Type | Description | Recommended Solution |
|---|---|---|
Puppet Add-on Reliability | Difficulties with the Puppet add-on. | Use black and white displays temporarily until updates. |
Image Updating Problems | Memory limitations affect performance. | Check URL configurations for image sources. |
Tip: If your dashboard doesn’t update temperature or weather forecast, double-check your network settings and sensor IDs.
Maintenance Tips
You want your dashboard to stay reliable and look sharp. Clean your display gently with a microfiber cloth. Avoid harsh chemicals. Update your software regularly. This keeps your dashboard running smoothly and helps you catch new features. Check your sensors for temperature readings. Replace batteries before they run low. If you use Wi-Fi, optimize your settings to save power and keep your dashboard connected.
Callout: Schedule a monthly checkup for your dashboard. Test temperature sensors, review weather forecast widgets, and make sure your home data stays accurate.
Upgrading Your Setup
You can future-proof your dashboard by planning ahead. Modular designs let you add new features without replacing everything. Cloud-based solutions boost your backend and reduce hardware needs. Fine-tune Wi-Fi settings and update intervals to optimize power usage. Here are some smart strategies:
Add modular components for easy upgrades.
Use cloud-based services to expand features.
Adjust Wi-Fi settings and update intervals for better power efficiency.
You’ll see exciting trends in epaper technology. Full-color E Ink displays bring richer visuals. Flexible and foldable screens create new device formats. Car dashboards and smart clothing use E Ink for dynamic displays. Solar-powered devices offer battery-free operation. Healthcare applications use E Ink for patient monitoring and digital prescription labels.
Trend | Description |
|---|---|
Full-Color E Ink | Richer color reproduction for dashboards and signage. |
Flexible & Foldable E Ink | Rollable e-readers and smart clothing. |
E Ink in Automotive | Car dashboards and exterior panels. |
Ultra-Low Power IoT Integration | Solar-powered, battery-free products. |
Healthcare Applications | Patient monitoring and digital prescription labels. |
You should consider media players, mounting solutions, network design, and environmental integration for your home dashboard. These factors help your setup stay secure, connected, and ready for new features.
Consideration | Description |
|---|---|
Media Players | Process and display content effectively. |
Mounting Solutions | Secure and position your display properly. |
Network Design | Maintain connectivity and manage updates. |
Environmental Integration | Adapt to settings like retail or outdoor environments. |
Note: Plan your upgrades so your dashboard keeps up with new technology and your home stays smart.
You can upgrade your home with e-paper displays in just a few steps. Start small—maybe a calendar or weather dashboard—then add more as you get comfortable. E-paper uses much less energy than LCD screens, as you can see below:
Display Type | Estimated Power Consumption |
|---|---|
E-Paper | |
LCD | Higher continuous power draw |
New features in 2026 make e-paper even smarter and more interactive. Try out touch controls, AI integration, and real-time updates. Your home will stay organized, efficient, and ready for the future.
FAQ
How long does an e-paper display last?
You can expect your e-paper display to last for years. Most screens handle thousands of updates. You won’t see burn-in like on OLED. Just keep your display clean and update the software.
Can I use e-paper displays outdoors?
Yes, you can use e-paper displays outside. Sunlight won’t cause glare. Some models have weatherproof cases. You should check the specs for temperature and humidity limits.
Do I need coding skills to set up a dashboard?
No, you don’t need coding skills. You can use no-code tools and drag-and-drop editors. Home Assistant and ESPHome make setup easy. You just follow simple steps.
What devices work with e-paper dashboards?
You can connect smart thermostats, lights, sensors, and calendars. Most dashboards support Home Assistant, Google Calendar, and other popular platforms. Check compatibility before you buy.
See Also
6 Innovative Smart Home Displays Transforming Tomorrow's Living
Essential Eye-Friendly Display Technologies to Watch in 2025
Discover BOE's Cutting-Edge Display Innovations for 2025
Engage Audiences with BOE's 2025 Digital Signage Innovations
Key Innovations in Museum Digital Displays to Follow in 2025